In this tutorial, I will show 2 ways to activate and install SSL certificates on these servers: The incorrect one (most probably you will face it) and the correct one. Additionally, I will show how to export the private key from the server.
The problematic way of certificate activation and installation
For this guide, I will use Windows 2000 with the installed version of IIS 5.
Firstly, we will need to generate the CSR code on IIS. Let’s open it:
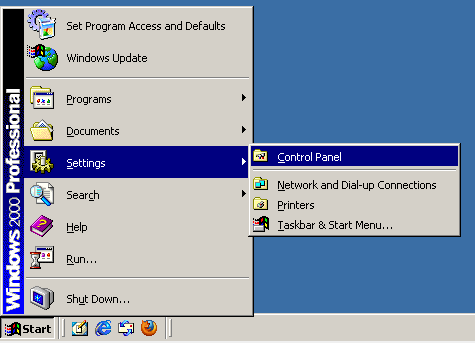

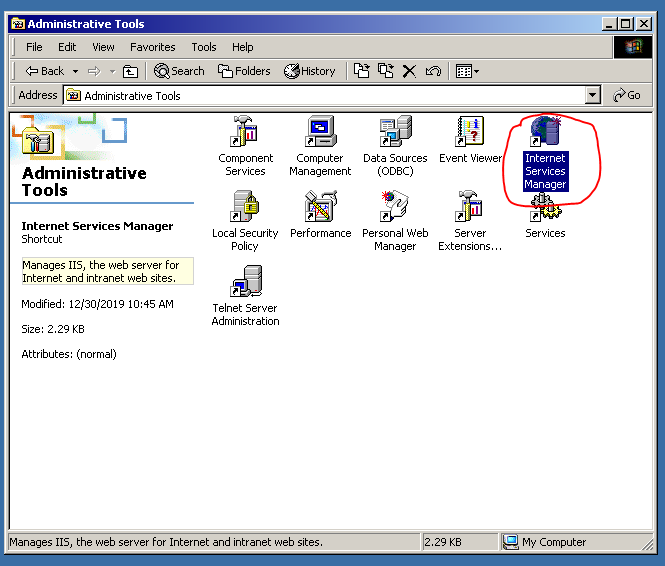
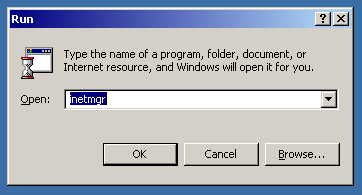
…or, we can press Win + R and type “inetmgr” instead:
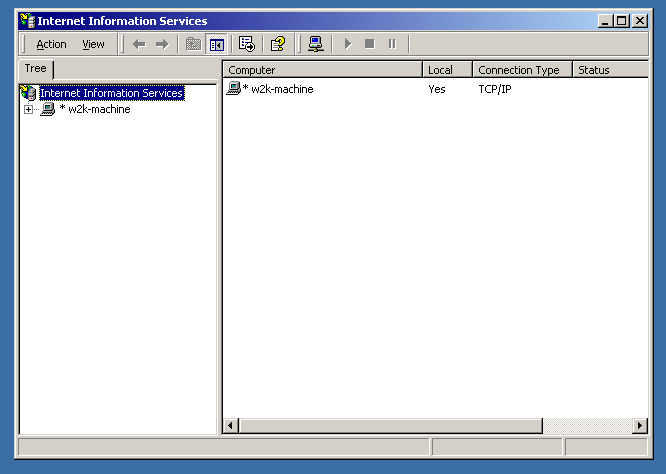
Here is how IIS 5 looks like.
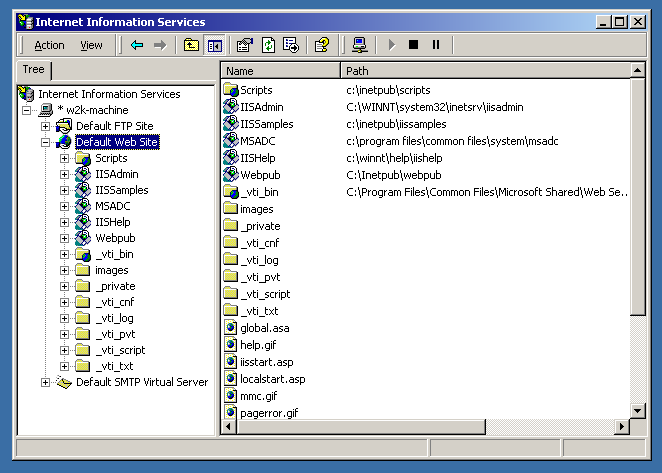
Okay, we are here to generate the CSR code, so let’s do that.
Right-click on the website name and select “Properties”. Then, select the “Directory Security” tab.
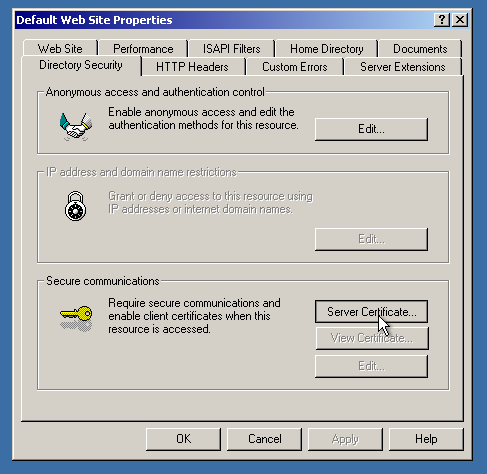
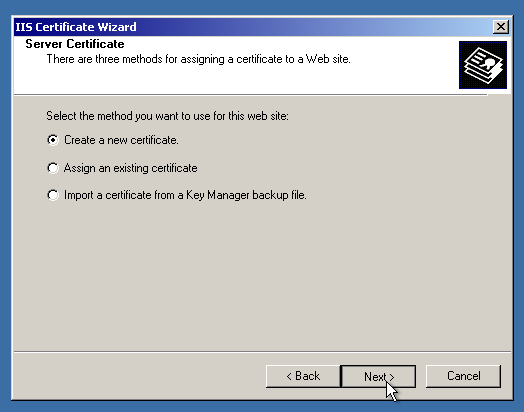
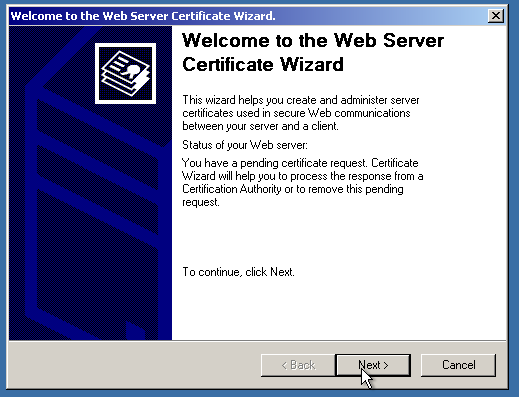
Click on the “Server Certificate” button. The magic certificate wizard will greet you.

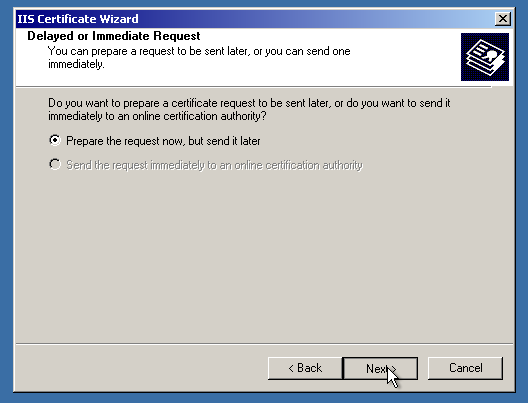
Click “Next”, then select “Create a new certificate”. On the next page, select “Prepare the request now…”.
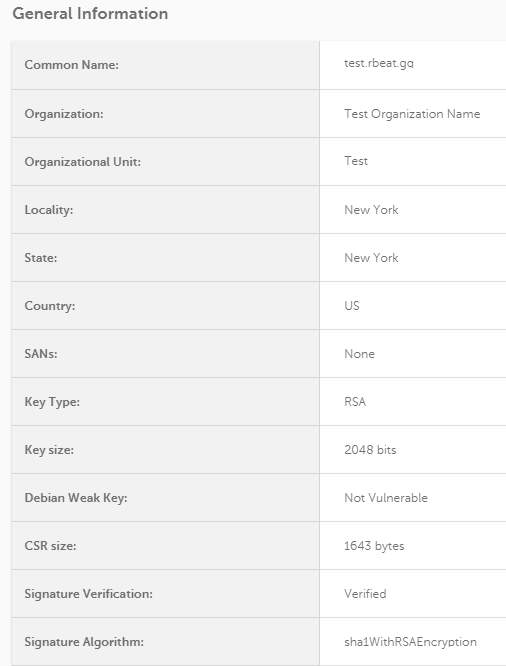
Here, make sure to select “Bit Length” as 2048 or higher, since Sectigo CA (and other CAs) now require the CSR code to be with that specification. Otherwise, the code will not be accepted or the certificate will be rejected.
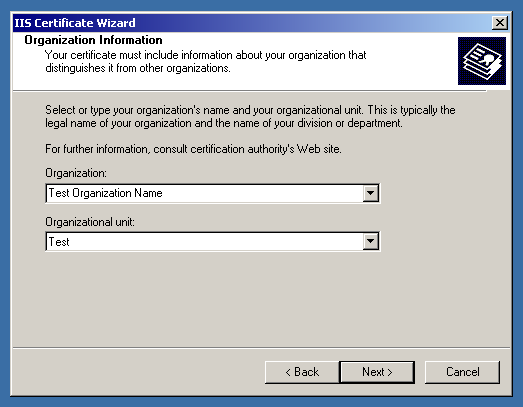
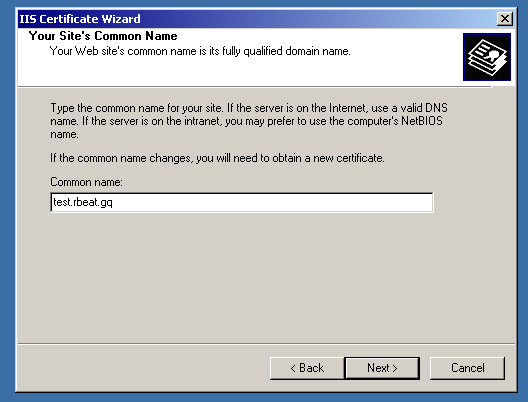
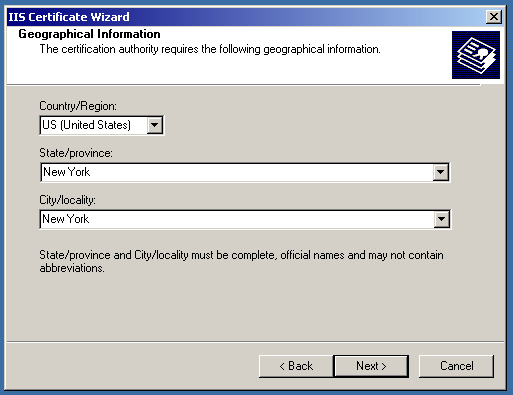
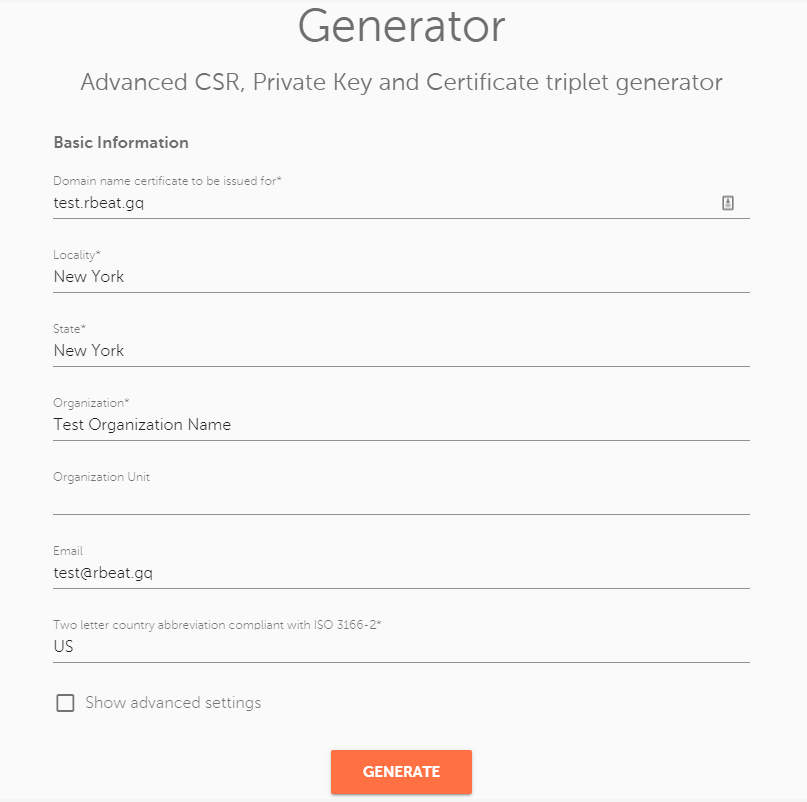
Then, make sure to enter the proper information regarding the company and the domain name needed to be in the certificate.
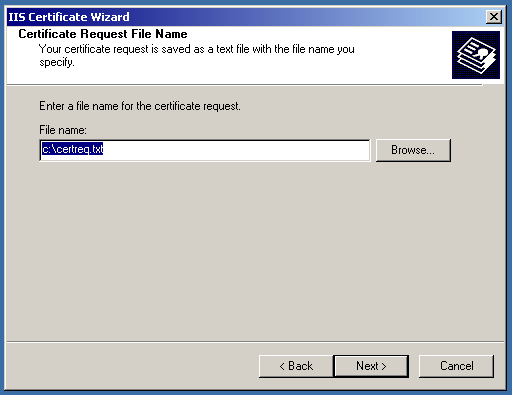
After that, you will need to tell the IIS where to save the CSR code. You can leave it as is, it will be located on the C: drive.
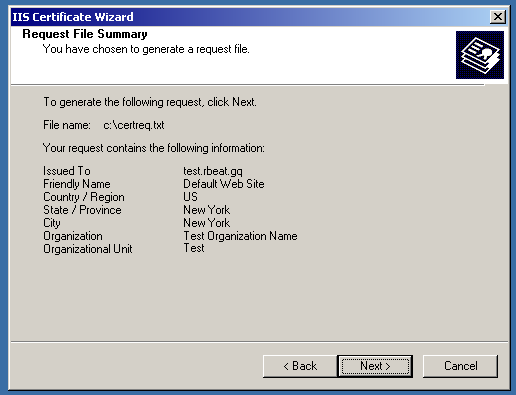
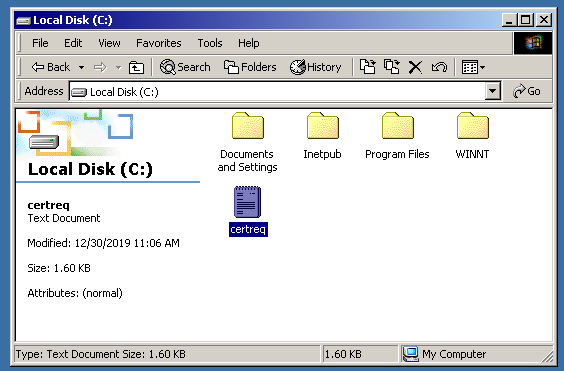
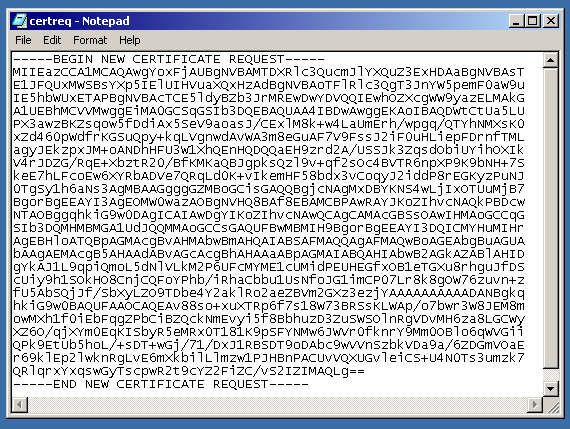
After that, the CSR code will be saved on the drive.
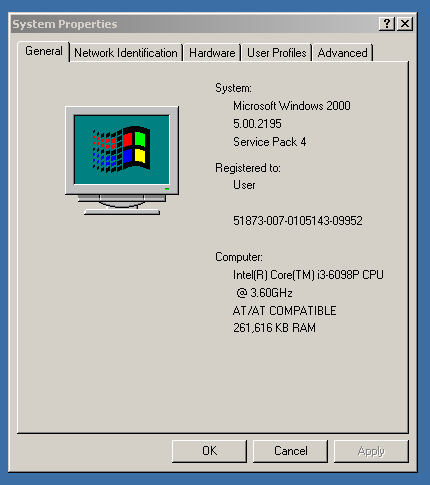
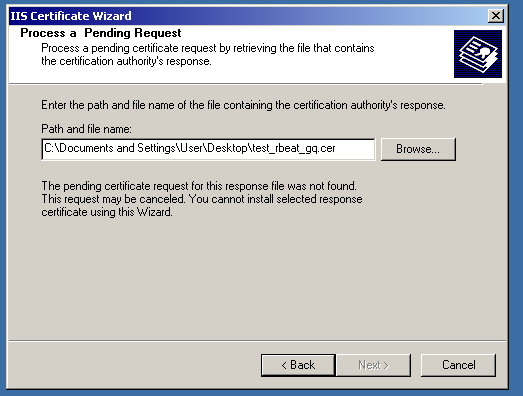
The certificate was issued successfully; however, cannot be installed on the server.
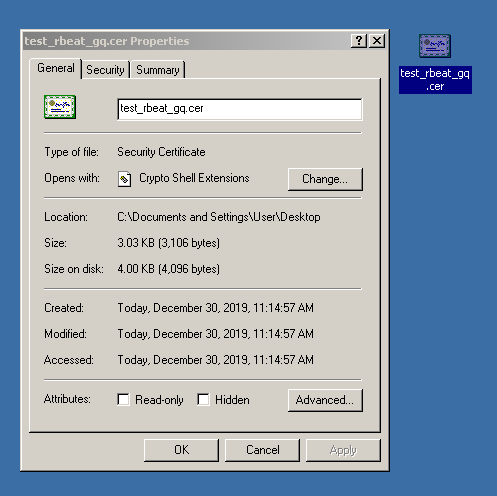
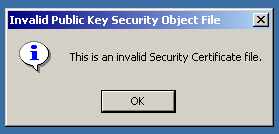
Even via the IIS console, Windows cannot read the certificate file.

In case you have faced this situation, you will need to export the private key and prepare the PKCS#12 (.pfx) certificate file.
Exporting a private key from MMC
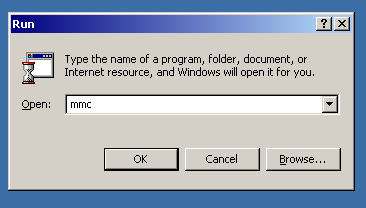
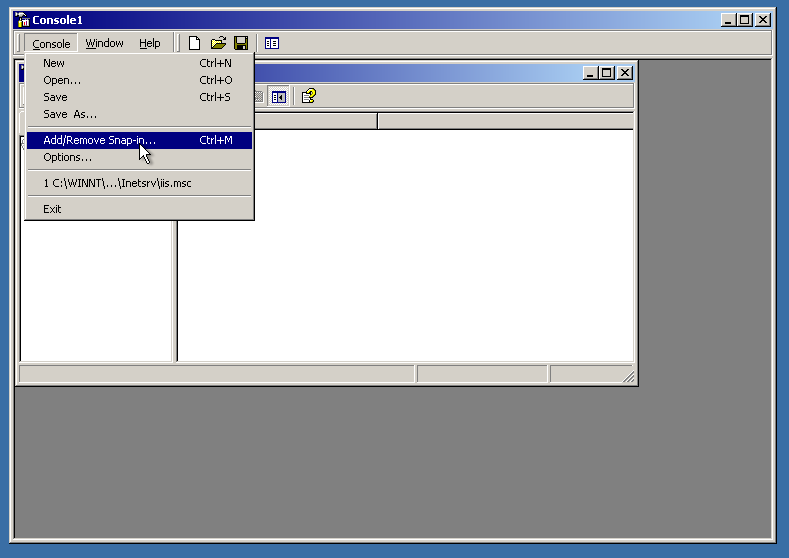
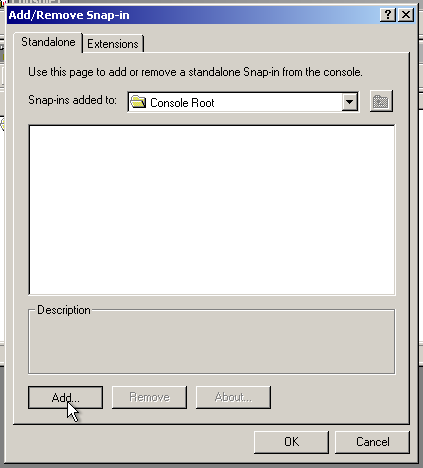
So, let’s open the MMC. To open it, press Win + R and type “mmc”. Then, click “OK”.
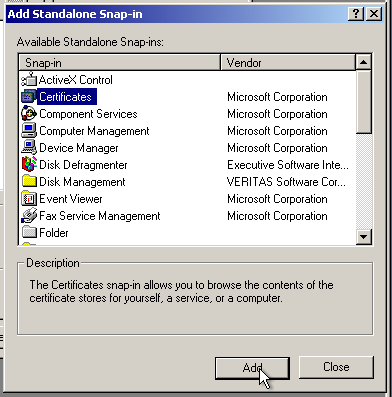
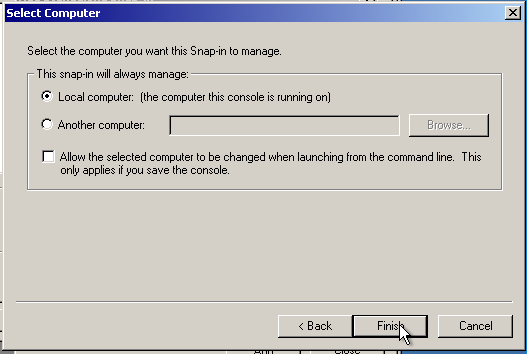
Now we will need to add a Snap-in tool called “Certificates”. Just look at the pictures, the process will be clear here.
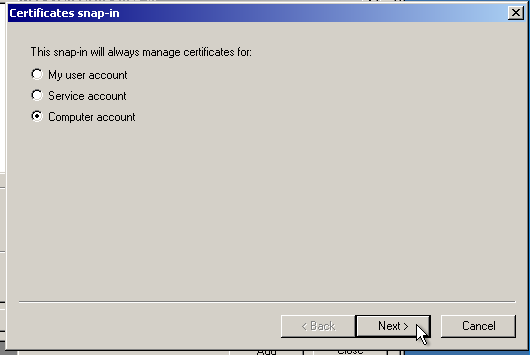
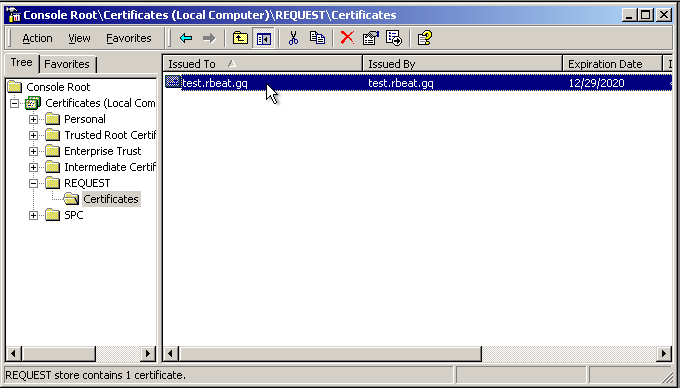
OK, the tool is added. Now, navigate to “Certificates” > “REQUEST” > “Certificates”. You will see the self-signed certificate, that also contains the private key needed.
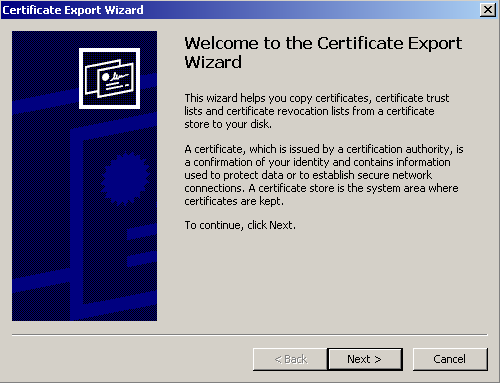
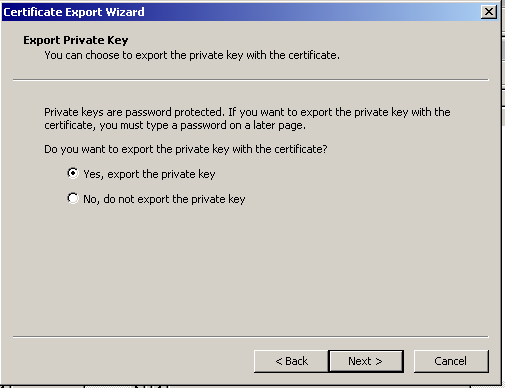
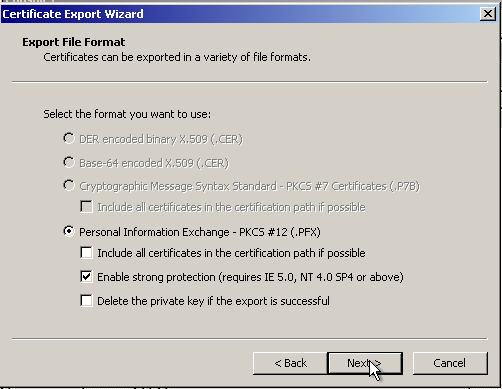
Right-click on it, select “All Tasks”, then “Export…”. After that, just click “Next” several times.
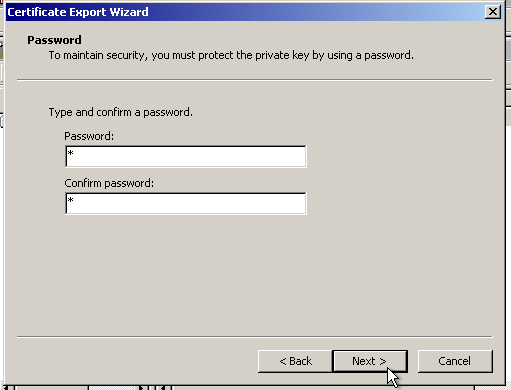
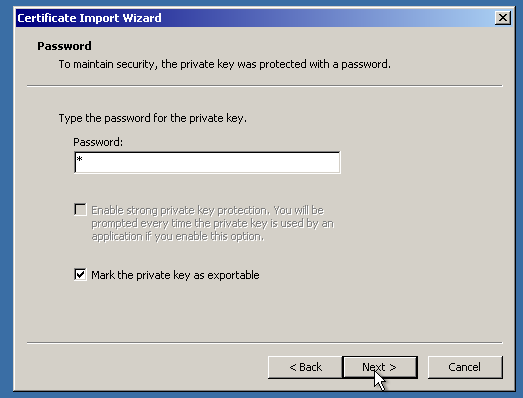
Then, you will need to enter the password for the PKCS#12 file. You can just enter “1” to avoid confusion.
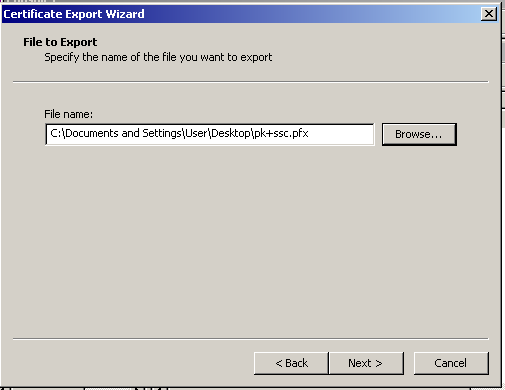
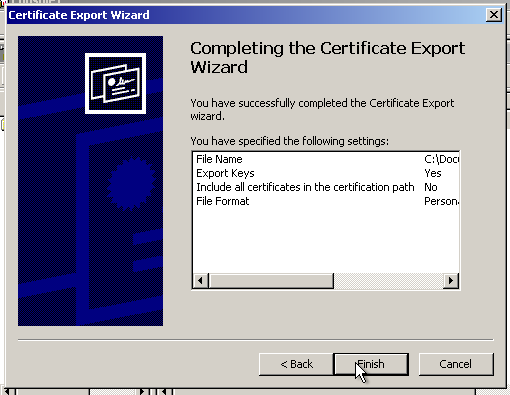
Then, save it wherever you like and finish the procedure.
Now, we will get the key out of the .pfx file. You can use this tool to do that. Make sure to select “PKCS#12 to PEM” option and enter the password of the certificate file. (In this case, “1”.) Do not close the MMC yet! You will eventually need it again.
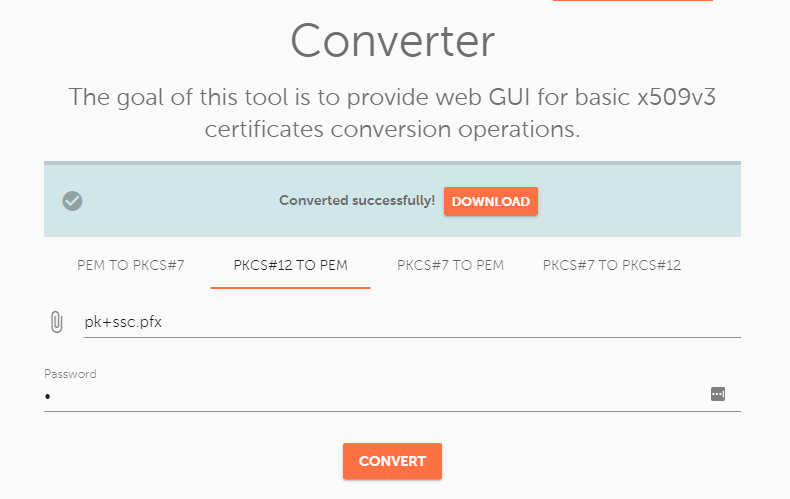
You will get two files in the .zip archive:
- Self-signed PEM (.crt) SSL certificate file
- The private key file (.key)

The right way to activate and install the SSL certificate
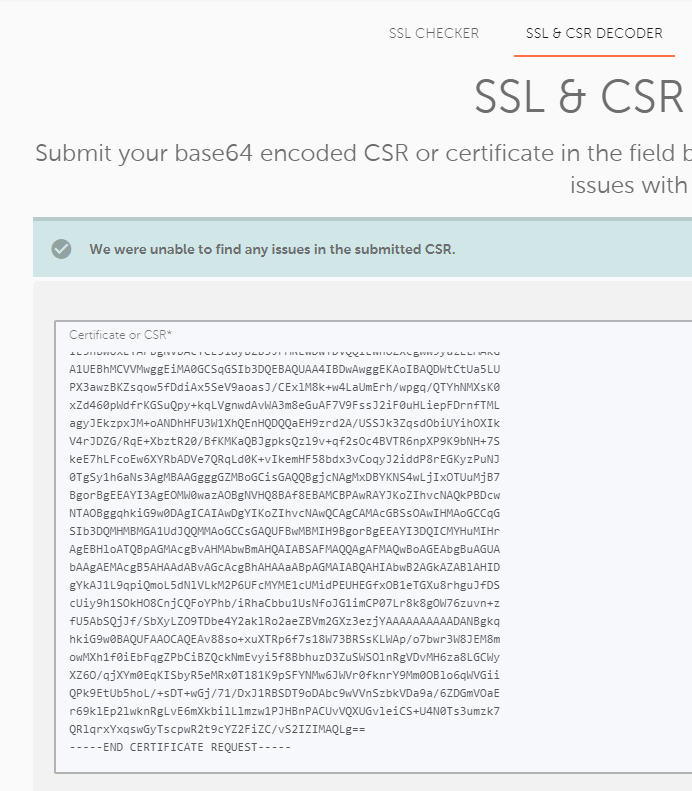
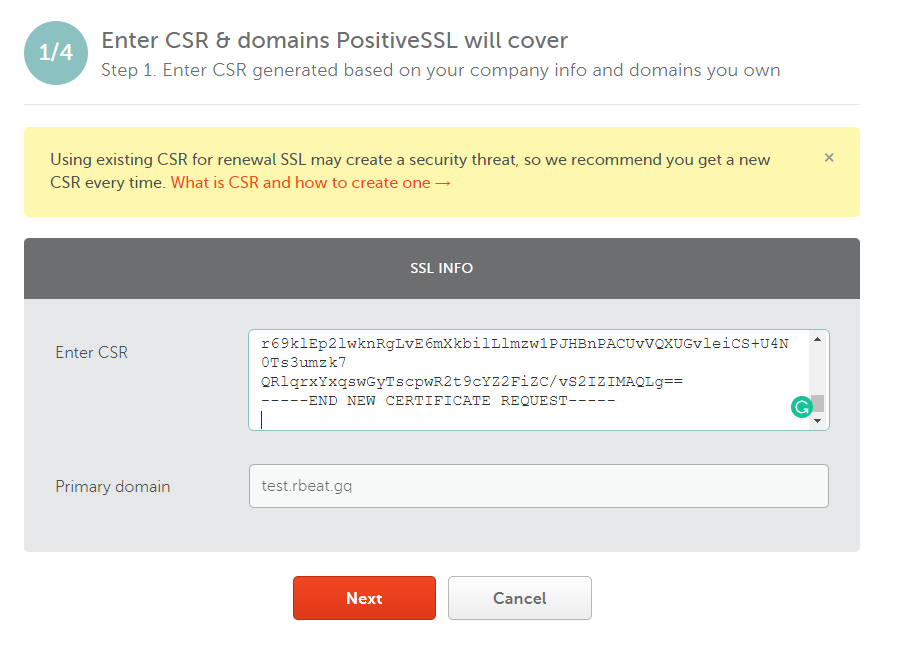
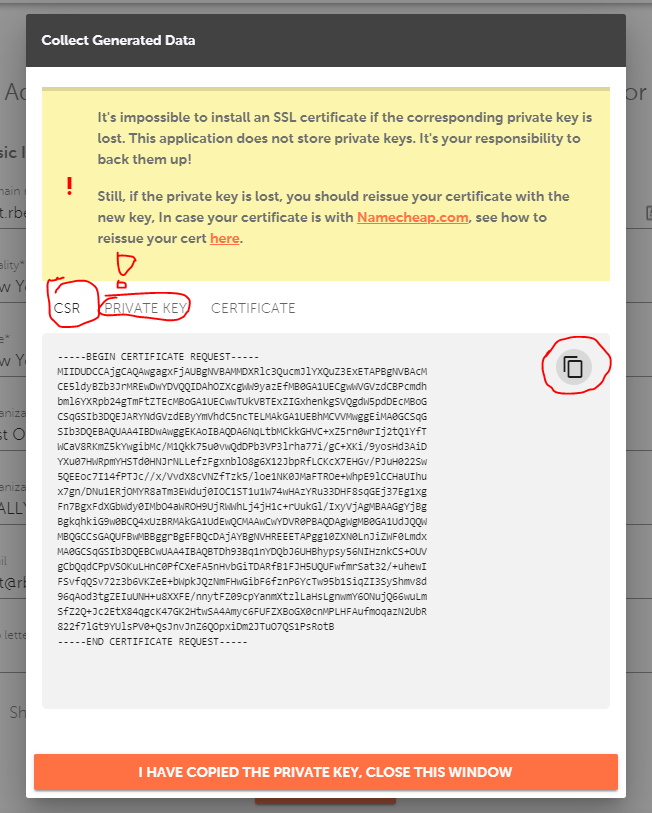
The right way to activate the SSL certificate for IIS 5/6 is to activate it with the CSR code generated not on the server itself. For this, you can use the same old decoder.link tool. (Make sure to save the private key and the CSR code!)
After the certificate will be activated, validated, and issued, you will have a .cer/.p7b (PKCS#7 format) certificate file. Take it and the private key and put it in the converter again. Now, for the “PKCS#7 to PKCS#12” option:
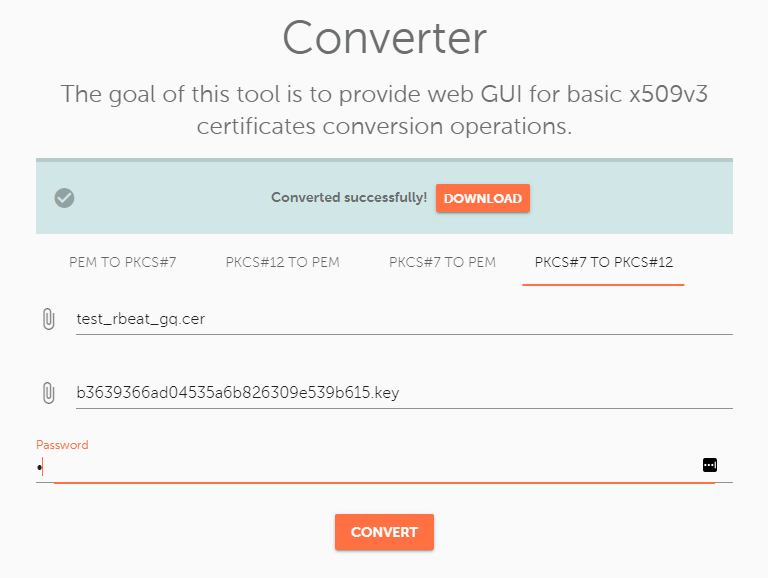
Since the private key was retrieved from the server, I have used the certificate initially issued with the incorrect activation and installation method (CSR code generated in IIS).
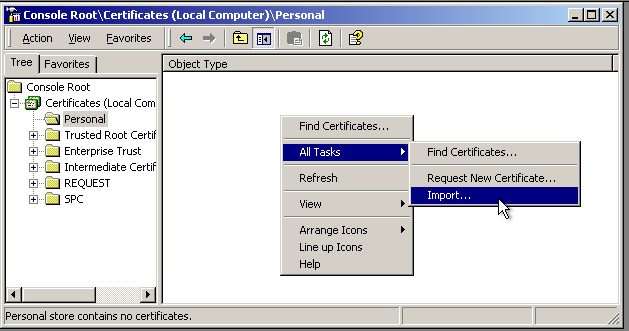
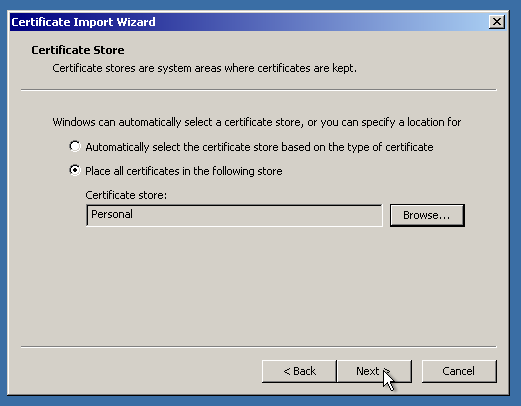
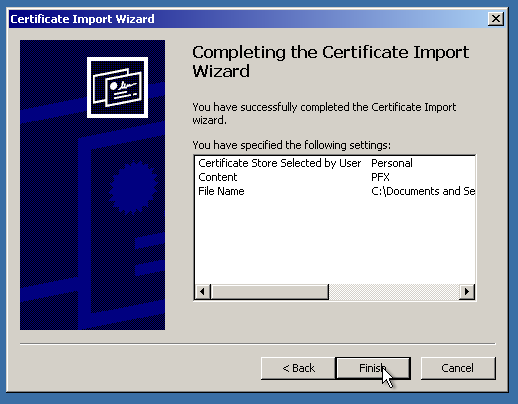
After that, you will need to add it via MMC. Go back there and navigate to “Certificates” > “Personal”. Then, right-click on the blank spot and select “All Tasks” > “Import”.
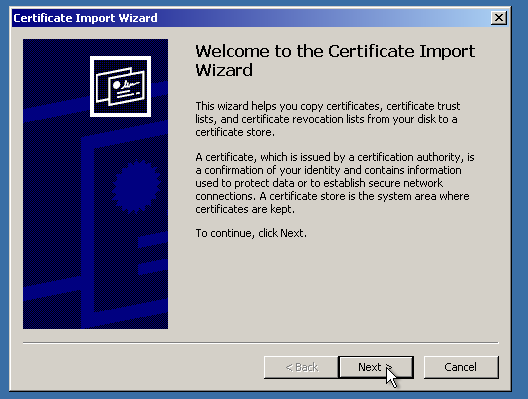
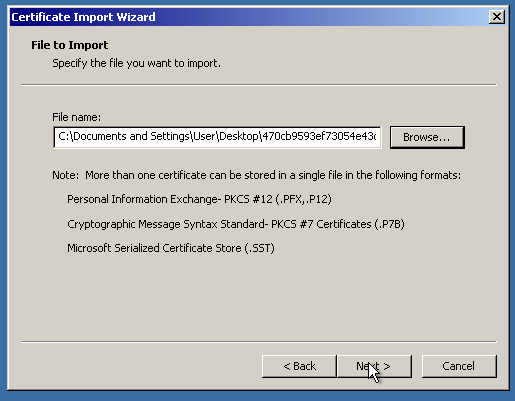
After that, follow the wizard. The process is pretty clear.
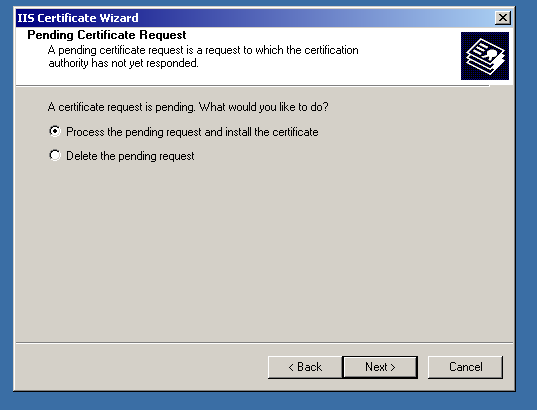
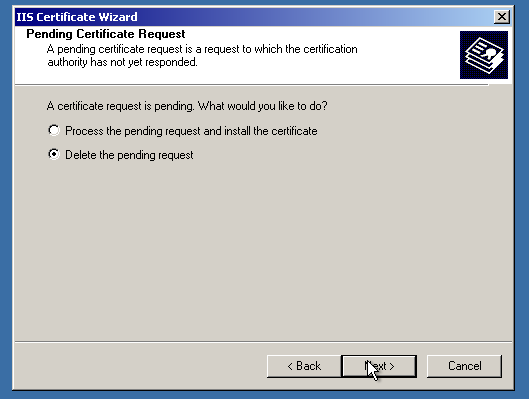
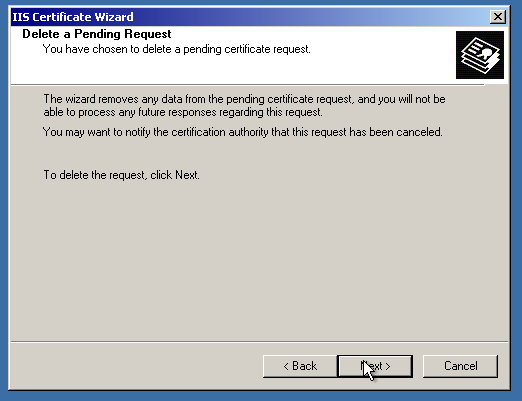
We are almost there! The only thing to do is “point” IIS to the imported SSL certificate. First, let’s delete the “pending request”, which is a self-signed certificate and private key binding. (Not needed, if the certificate was activated and issued the right way)

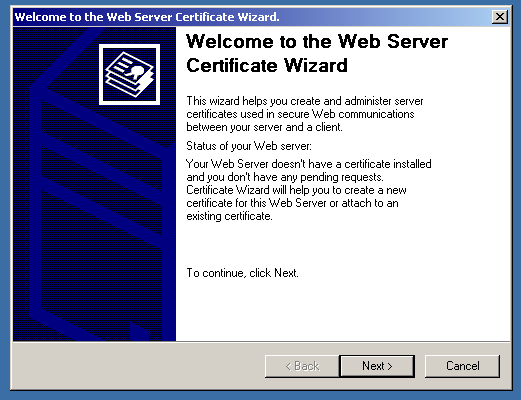
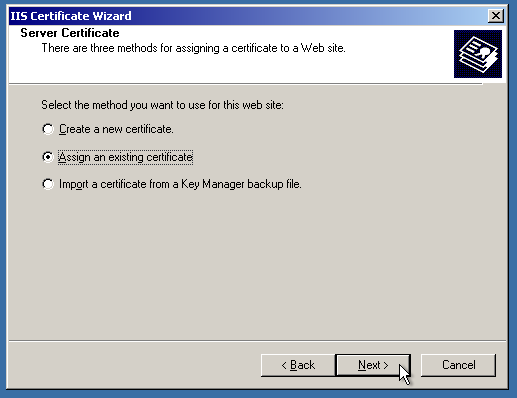
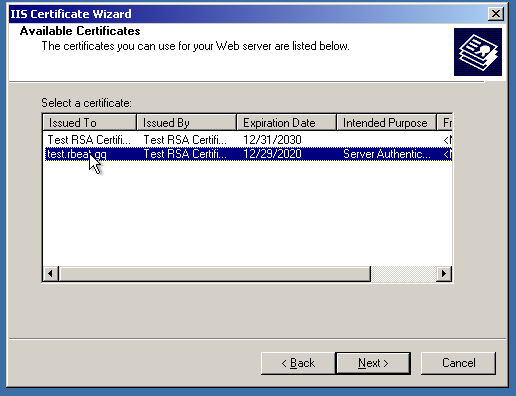
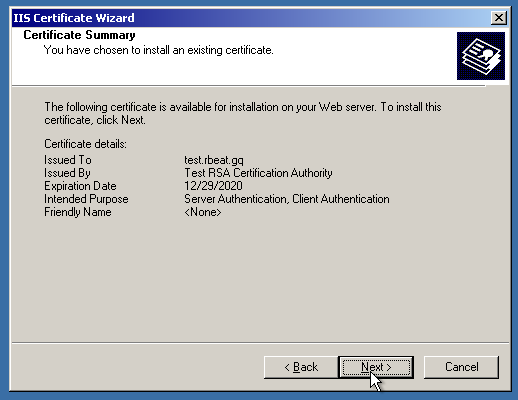
After that, let’s finally assign the certificate!
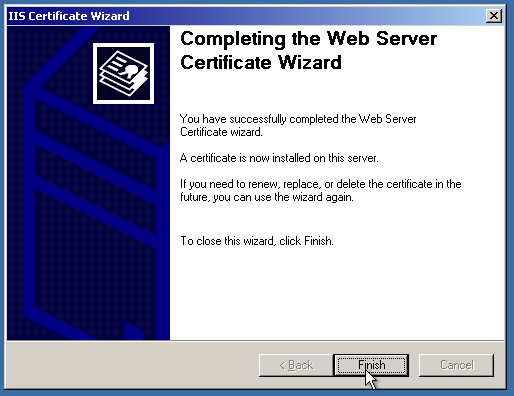
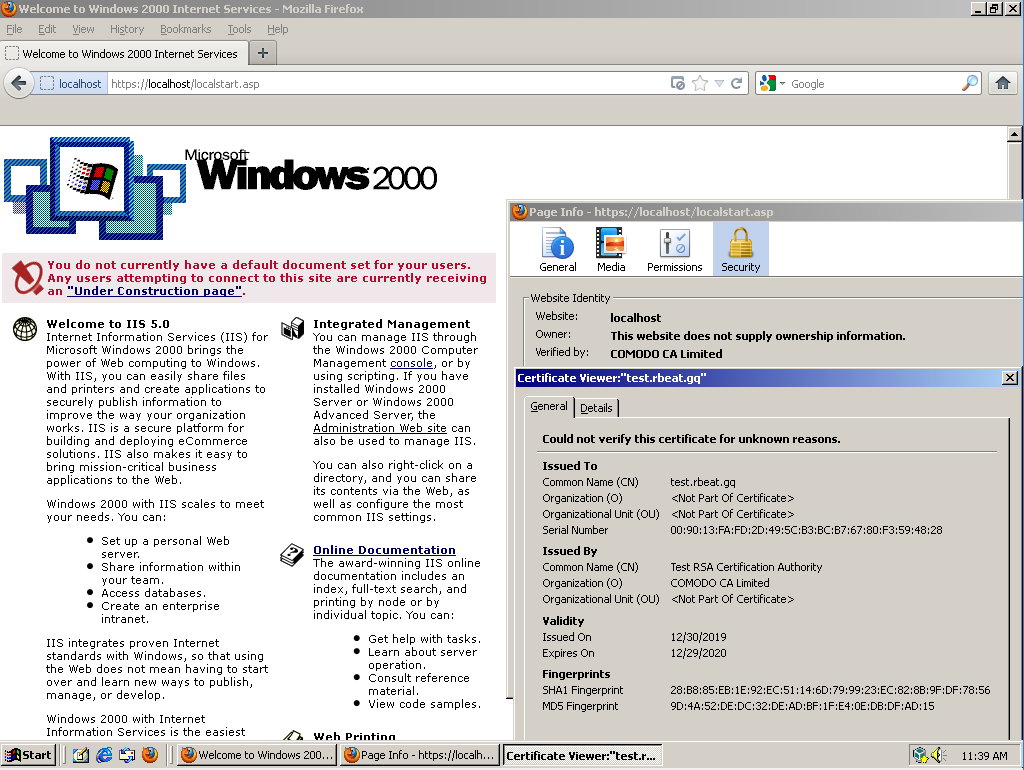
And, voila! The website is secure now.
That should be it. The HTTPS redirect guide will be out soon. Stick around for that!