In this guide, we will review the SSL certificate installation on Apache web server, one of the most popular web servers out there.
Since there are 2 versions of Apache webserver (“httpd” for RHEL and “apache2” for Debian-based Linux), I will review both cases of SSL certificate installation.
SSL certificate installation on httpd.
Firstly, we will check whether the Apache server is installed. Additionally, we will be able to check the website root folder location. For that, we need to run the following command:
httpd -S
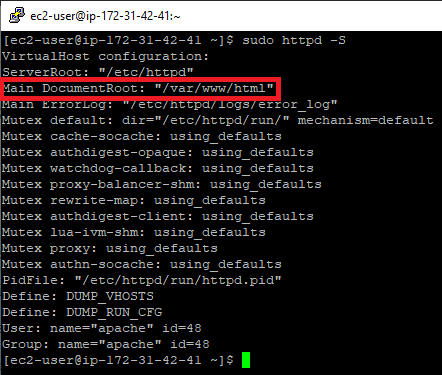
In the “Main DocumentRoot” section, we can see the folder where all of the websites hosted on the webserver are located. For the purpose of this guide, we will refer to “/var/www/html” as to the website root of our test website.
Next, we will need to install “mod_ssl” in order to enable the SSL/TLS support on the webserver. For that, we will need to run the following command:
sudo yum install mod_ssl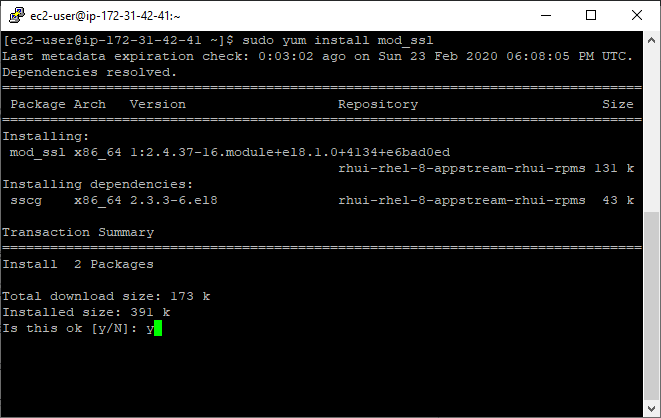
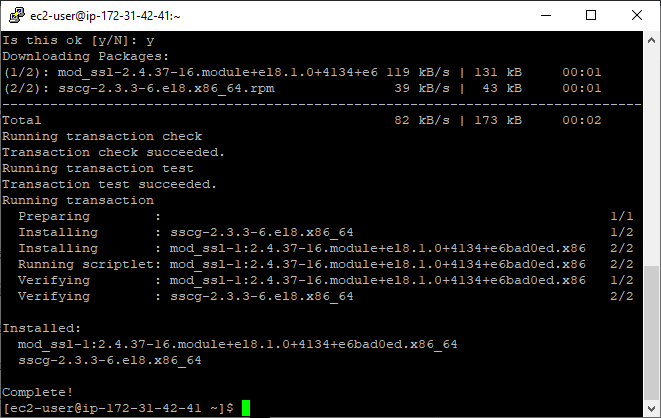
Confirm the installation by typing “y” and pressing “Enter” key.
Now, if we run the “httpd -S” command, we will see an error message regarding the missing SSL certificate:
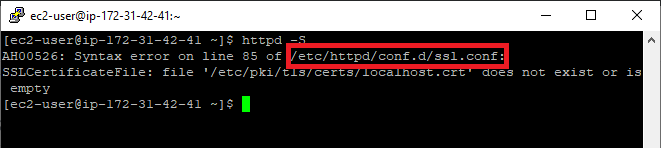
The new configuration file is marked with red. This is the file where we need to provide the path to the certificate, CA bundle file, and the private key file.
We will save the default file as a backup and we will create a new one. This can be done by running the following command:
mv /path/to/old_filename /path/to/new_filenameIn our test case, the command will be:
mv /etc/httpd/conf.d/ssl.conf /etc/httpd/conf.d/ssl.conf.backup
The file will be renamed to “ssl.conf.backup”.
Now, we will create a new configuration. Since most of the RHEL-based OSes do not include “nano” editor, we will create and save the configuration file using the command:
cat >> /etc/httpd/conf.d/ssl.conf Warning!
Make sure to log in as a “root” user in order to modify the configuration file. You can quickly switch to the “root” user by running the command:
sudo -i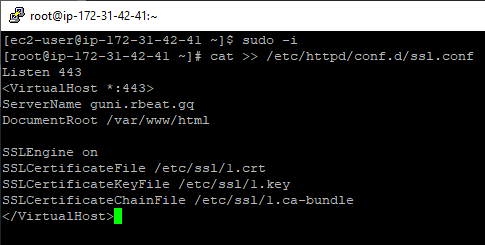
After the command was enter, feel free to paste the configuration file code.
Here is the configuration file example:
Listen 443
<VirtualHost *:443>
ServerName (DOMAIN NAME OF THE WEBSITE)
DocumentRoot (ROOT FOLDER OF THE WEBSITE)


SSLEngine on
SSLCertificateFile (CERTIFICATE PATH)
SSLCertificateKeyFile (PRIVATE KEY PATH)
SSLCertificateChainFile (CA BUNDLE PATH)
Make sure to replace the command values in brackets with the valid information.
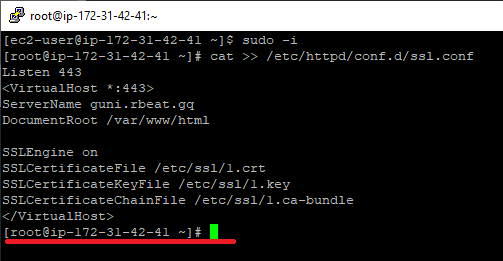
Once done pasting the configuration file code, press CTRL+D to save the file and exit back to the command prompt.
Now, log out from the “root” user and check the file syntax by running the command:
httpd -t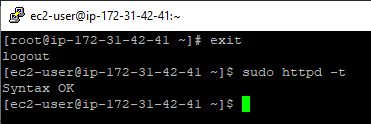
If the command responds with “Syntax OK”, you are free to reboot the webserver. To do that, run the command:
sudo service httpd restartOnce restarted, the Apache server should add the configuration file to its settings. To check that, run the following command:
httpd -S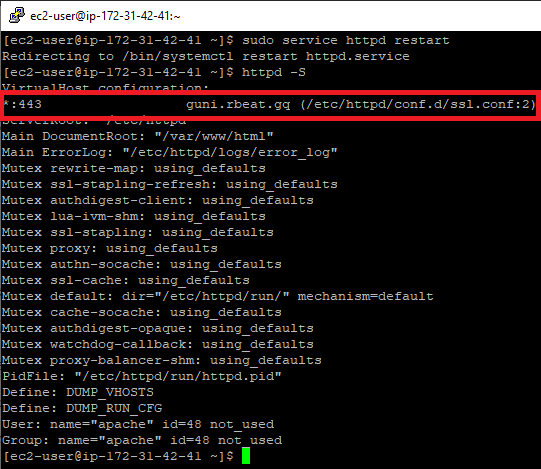
Done! The website is now secured.
SSL certificate installation on apache2.
Firstly, we will check whether the Apache server is installed. Additionally, we will be able to check the website root folder location. For that, we need to run the following command:
apachectl -S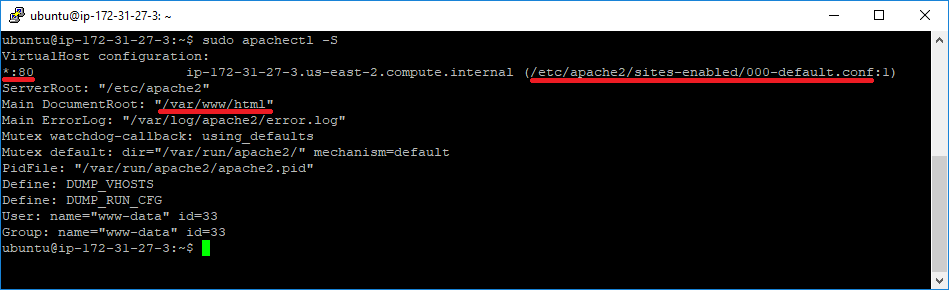
In the “Main DocumentRoot” section, we can see the folder where all of the websites contents are located. For the purpose of this guide, we will refer to “/var/www/html” as to the website root of our test website. We can also see the directory where the website configuration file is located. The configuration file for port 443 will be created there as well shortly.
Now, we will need to enable SSL support on our webserver. For that, we will need to run the following command:
sudo a2enmod ssl
After that, we should reboot the webserver, so that the “ssl” extension could be applied to the Apache server. Let’s reboot the server by entering the following command:
sudo systemctl restart apache2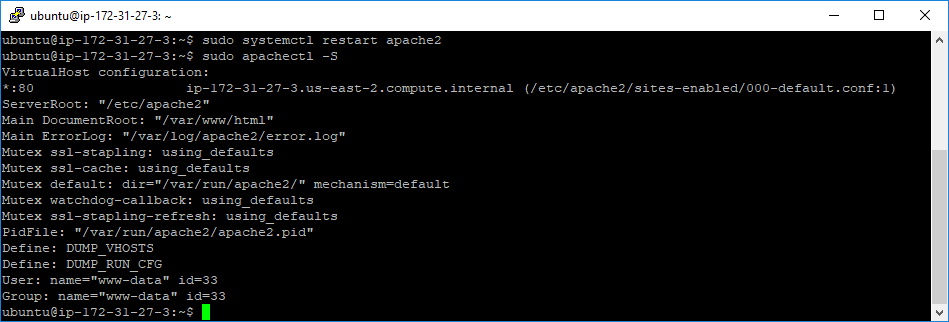
We can see that the webserver has been restarted successfully. We can check whether the Apache process is active by entering the command:
apachectl -SNow, we will create a new configuration file for our website. This will enable the 443 port and SSL version of the website. I will call my configuration file – “000-default-ssl.conf”.

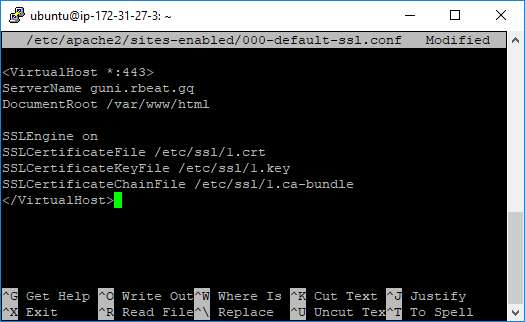
Here is the configuration file example:
<VirtualHost *:443>
ServerName (DOMAIN NAME OF THE WEBSITE)
DocumentRoot (ROOT FOLDER OF THE WEBSITE)


SSLEngine on
SSLCertificateFile (CERTIFICATE PATH)
SSLCertificateKeyFile (PRIVATE KEY PATH)
SSLCertificateChainFile (CA BUNDLE PATH)
Make sure to replace the command values in brackets with the valid information.
Now, we will save the configuration file by pressing CTRL+X. Then, we will confirm the file changes saving by pressing “y” key. Finally, press “Enter” key to confirm the file name and location.
After that, the file should be enlisted in the Apache configuration files list (apachectl -S):
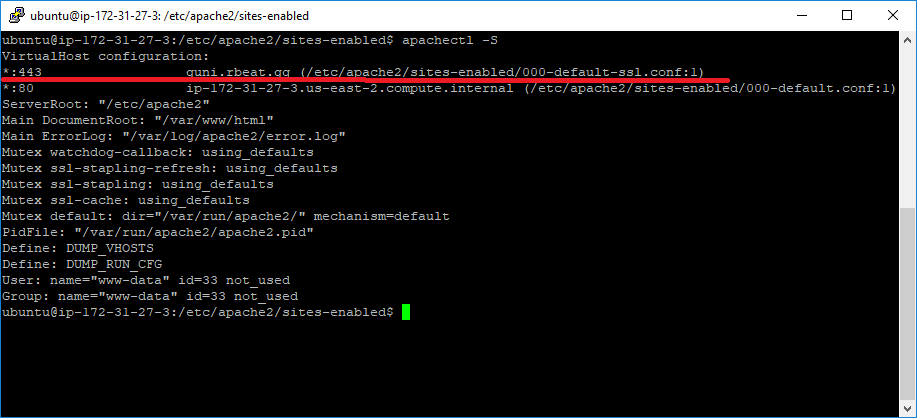
Warning!
If the new configuration file is not present, navigate to the needed directory…
cd /etc/apache2/sites-enabled…and run the following command:
sudo a2ensite 000-default-ssl.confWe will additionally check the file syntax by running the command:
apachectl -t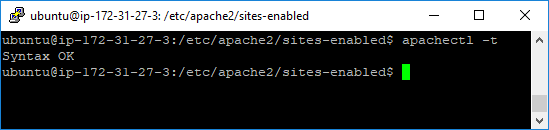
If the command responds with “Syntax OK”, you are free to reboot the webserver. To do that, run the command:
sudo systemctl restart apache2
Done! The website is now secured.